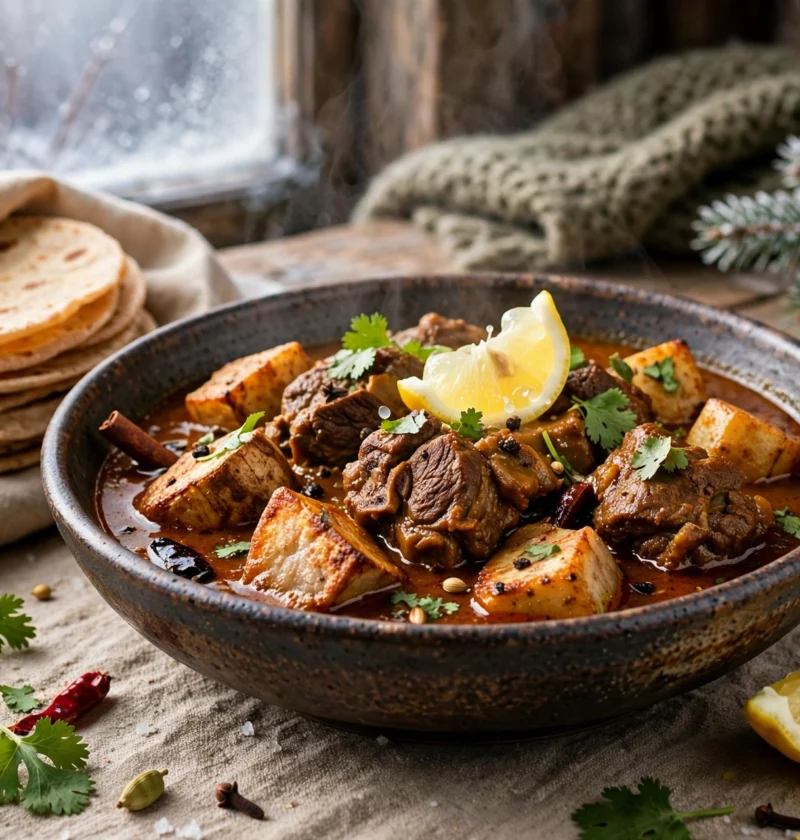
There is a vegetable at our winter sabzi cart that most people walk straight past, and it is the one my mother makes a beeline for: arvi — taro — muddy, hairy, unpromising little tubers piled up like something the earth forgot to finish. She would come home with a kilo of them and an expression of quiet triumph, because she knew what they become in a mutton curry: soft as velvet, edged with bhuna masala, thickening the gravy with their own starch until the whole pot eats like it was enriched on purpose. This arvi gosht recipe is her winter curry as I finally cook it myself — a proper onion-tomato bhuna around tender mutton, and the arvi added late, pre-cooked and golden, so it drinks in the masala without falling apart in it.
My early attempts taught me respect for the tuber the hard way. My first pot turned into something resembling wallpaper paste, because I had thrown the raw arvi in with the meat at the start and let it cook for an hour, and overcooked taro does not melt politely — it dissolves its starch into the curry and glues everything together. My second attempt, I peeled the arvi bare-handed like a hero and itched up to my elbows for the rest of the day; raw taro skin carries an irritant, and it does not care about your confidence. And once, in a hurry, I pulled the pot off early and bit into arvi that was still chalky and hard at the center. The rules of this arvi gosht recipe are those three lessons: oil your hands before you peel, pre-cook the arvi so it holds its shape, and let it join the curry only when the mutton and masala are already done.
Why This Arvi Gosht Recipe Works
Arvi is a generous vegetable with one flaw: bad timing ruins it in both directions. This arvi gosht recipe is arranged around its timing:
- The arvi is pre-cooked before it meets the curry. A brief boil or a shallow fry until just tender firms the tubers, cooks off the surface sliminess raw taro is known for, and means the pieces hold their shape in the gravy instead of dissolving into it. This single step is the difference between a curry and a glue pot.
- The mutton bhuna is finished first, completely. Onions browned, tomatoes cooked down, oil risen to the surface — the masala is a complete dish before the arvi arrives. In a good arvi gosht recipe the tuber is a guest in a ready curry, simmered just long enough to absorb flavor, never asked to survive the whole cooking.
- Hands are protected before peeling. Rubbing your hands with oil, or wearing gloves, and peeling the arvi under running water keeps the irritating sap of raw taro off your skin. It sounds like fussiness until the first time you skip it; this arvi gosht recipe insists on it in writing.
- The gravy is kept slightly loose at the simmer. Arvi releases starch as it sits in hot curry, so the pot tightens on its own in the last ten minutes. Starting a touch thinner than you want to finish is how an arvi gosht recipe lands at silk instead of porridge.
- Lemon goes in at the end. Taro is earthy, mutton is rich, and bhuna is deep — the curry needs one bright note, and a squeeze of lemon in the final minutes lifts the whole pot without announcing itself.
Ingredients
Serves 5 to 6
For the arvi:
- 1 pound (450 g) arvi (taro / colocasia), similar sizes if you can pick them
- Oil, for rubbing on your hands (or wear gloves)
- 1/2 teaspoon salt, for the pre-cooking water
- 2 tablespoons oil, if shallow-frying instead of boiling
For the mutton bhuna curry:
- 1 1/2 pounds (700 g) mutton (gosht) on the bone, cut into curry pieces — beef works the same way
- 1/3 cup oil or ghee
- 2 large onions, sliced thin
- 1 tablespoon ginger-garlic paste
- 1/2 cup plain yogurt, whisked smooth
- 3 medium tomatoes, finely chopped
- 1 1/2 teaspoons salt, or to taste
- 2 teaspoons red chili powder
- 1 tablespoon coriander powder
- 1/2 teaspoon turmeric powder
- 1 teaspoon garam masala
- 3 to 4 green chilies, slit
- 1 1/2 to 2 cups hot water, as needed
- Juice of 1/2 lemon
- Fresh coriander leaves and julienned ginger, to finish
The star is taro — one of the oldest cultivated tubers on earth, grown from Egypt to the Pacific long before the potato existed, and in our kitchens the quiet backbone of a whole family of winter curries. Cooked in a curry it does something no other vegetable quite manages: it behaves like both the vegetable and the thickener, lending its starch to the gravy while its flesh turns tender and almost creamy. Understanding that double nature is most of what an arvi gosht recipe asks of you.
How to Make This Arvi Gosht Recipe – Step by Step
Step 1: Peel the arvi safely and pre-cook it.
Rub your hands well with oil or pull on gloves — do not skip this — and peel the arvi thickly under running water, then cut each tuber into 2 or 3 chunky pieces. Boil them in salted water for 8 to 10 minutes, until a knife slides in with slight resistance, then drain. Or, for the version with golden edges my mother prefers, shallow-fry the peeled pieces in 2 tablespoons of oil until they are lightly crusted all over. Either way, this pre-cooking is the step an arvi gosht recipe stands on: it sets the tuber’s shape and washes away the sliminess before the curry ever sees it.
Step 2: Brown the onions and build the bhuna.
In a heavy pot, warm the oil or ghee and cook the thinly sliced onions over medium heat for 12 to 15 minutes, stirring often, until they are a deep, even gold. Add the ginger-garlic paste for a minute, then the mutton and salt, and fry on high heat for 6 to 8 minutes until the meat is well seared and the pot smells like a dhaba at noon. This browning is the flavor bank of the whole arvi gosht recipe — do not rush it.
Step 3: Cook the masala down and tenderize the mutton.
Add the tomatoes, chili powder, coriander powder, and turmeric, and bhuno the masala — keep it frying and stirring, scraping the base of the pot, until the tomatoes have melted away entirely and the fat begins to shine in glossy pools around the edges, a good 8 to 10 minutes of patient work. Beat in the yogurt a spoonful at a time so it does not split, and cook 2 minutes more. Add 1 1/2 cups hot water, cover, and simmer on low for 45 to 55 minutes, until the mutton is properly tender. (A pressure cooker does this in about 15 minutes under pressure.) The curry at this point should be finished and delicious on its own — in an arvi gosht recipe, it has to be.
Step 4: Add the arvi and simmer gently — briefly.
Slide the pre-cooked arvi into the curry and stir once, gently, so every piece is coated. Add a splash of hot water if the gravy looks tight — remember the arvi will thicken it as it sits. Cover and simmer on the lowest heat for 10 to 12 minutes only, until the arvi is tender right through and has taken on the masala’s color. Taste a piece: it should be velvet, not chalk. Any longer and your arvi gosht recipe starts its slide toward glue, so set a timer and believe it.
Step 5: Finish with lemon, chilies, and garam masala.
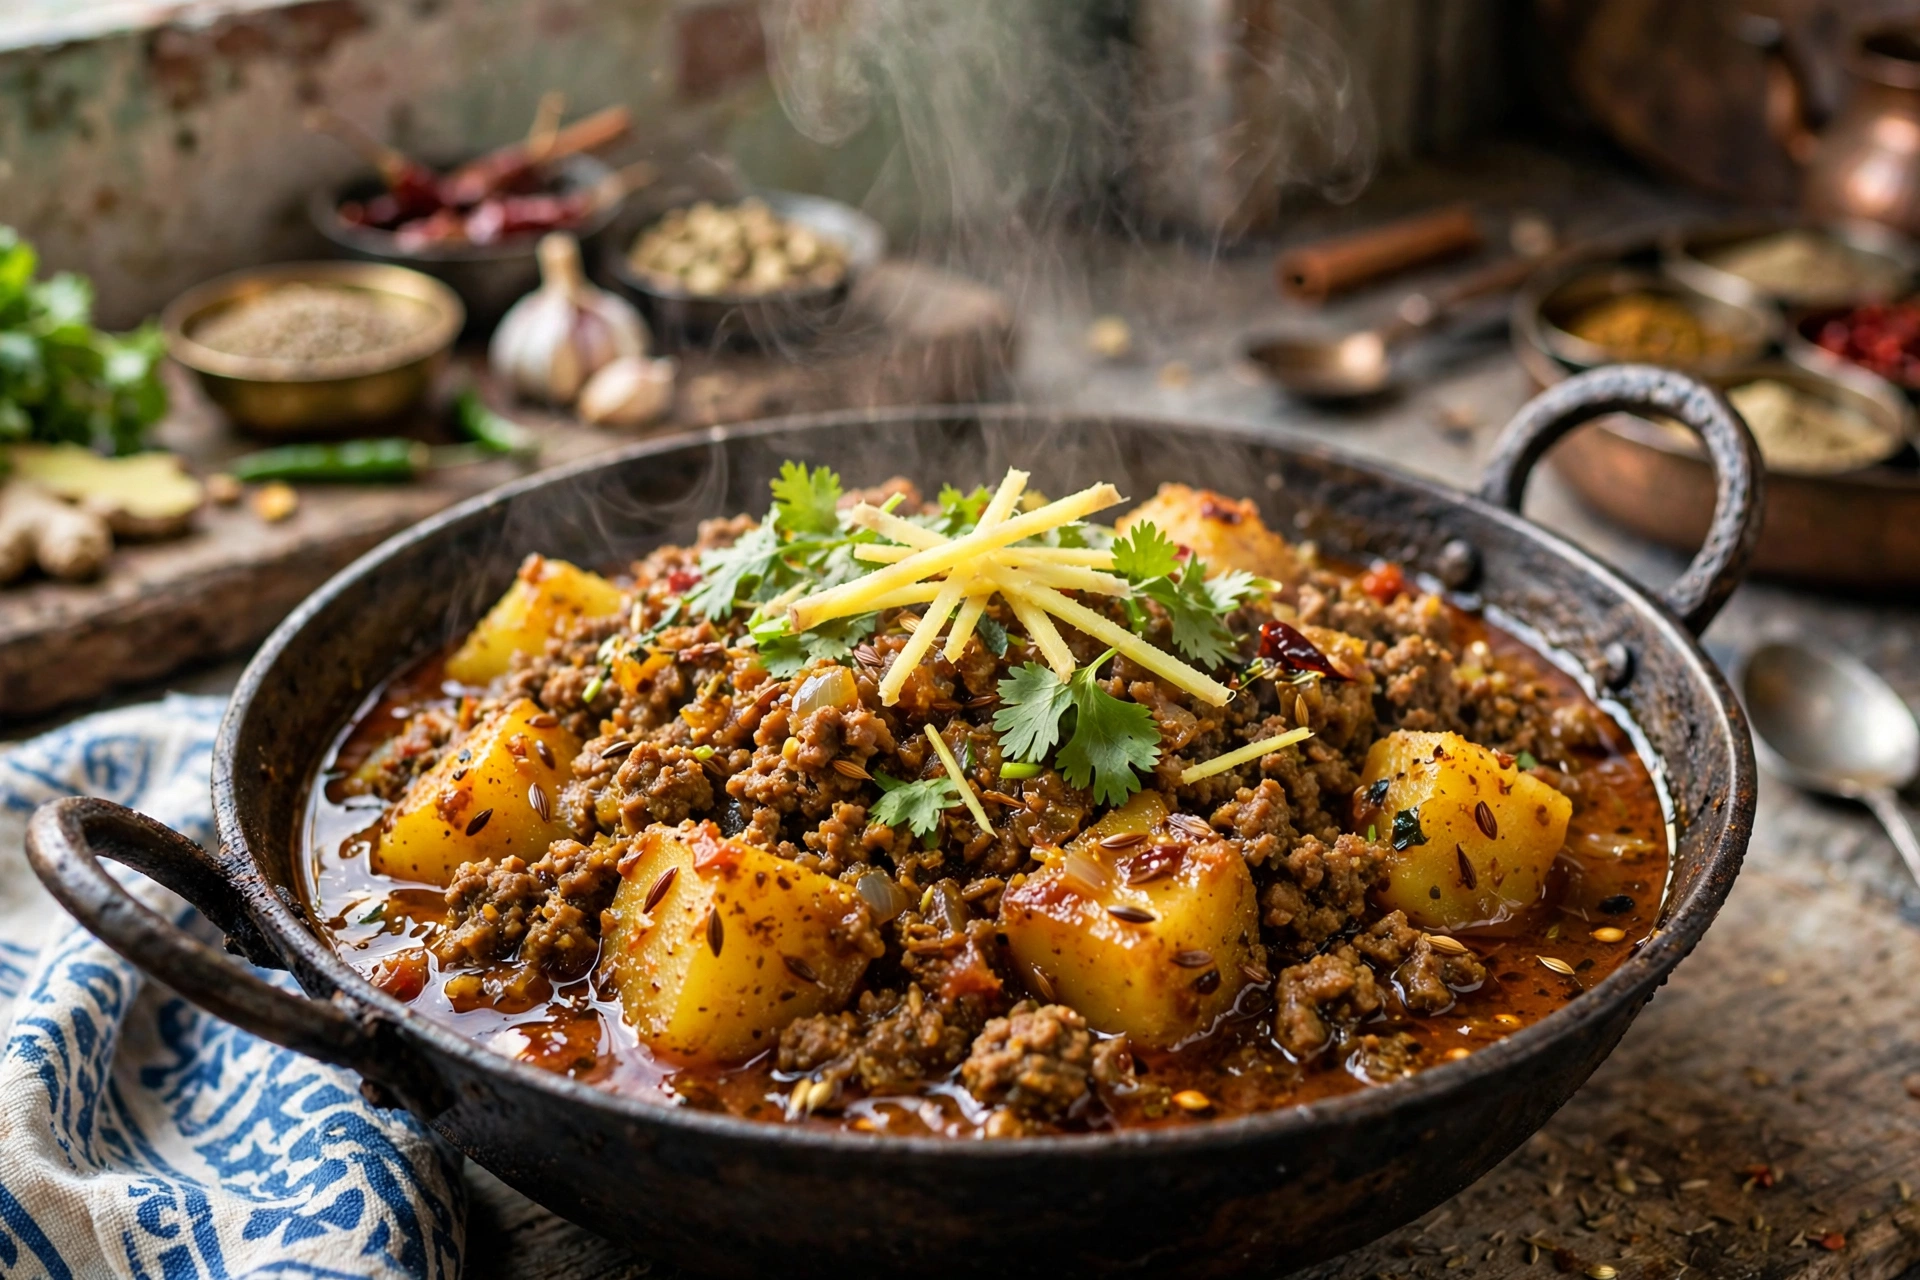
Scatter the garam masala and green chilies over the pot, squeeze in the lemon juice, and let the curry rest, covered and off the heat, for 10 minutes — the flavors settle and the gravy reaches its final, silky body in that rest. Finish with fresh coriander and ginger juliennes. Serve this arvi gosht recipe in a deep dish, with the arvi pieces arranged like they matter, because in this curry they genuinely do.
Serving Suggestions
An arvi gosht recipe is homestyle winter food, and it wants homestyle company: hot tandoori rotis or plain boiled rice to carry the gravy, a kachumber salad of onion, tomato, and cucumber for crunch, and a wedge of lemon on the side for anyone who wants the brightness turned up. It is a Sunday-lunch curry, the kind that improves the cook’s reputation quietly.
It belongs to a family of meat-and-tuber curries on this site, and the differences are worth tasting side by side. My shalgam gosht cooks turnip with the meat — pale, faintly sweet pieces that stay distinct in a thinner gravy. My aloo gosht is the beloved everyday original, potato in mutton curry, where the potato soaks up masala but the gravy stays itself. The arvi gosht recipe is the richest of the three: the arvi gives its starch to the pot, so the gravy turns velvety and clings, and the tuber’s own flesh eats almost like a dumpling that grew in the ground.
Storage and Reheating
Arvi gosht keeps 2 to 3 days in the refrigerator, and here is the honest truth about day two: the arvi keeps drinking gravy and releasing starch, so the curry will be noticeably thicker, and many of us think it tastes even better. Loosen it with a splash of hot water as you reheat it gently on the stove — never a fierce boil, which breaks the tender pieces. It freezes acceptably for up to a month, though the arvi softens further after thawing; this is an arvi gosht recipe that prefers to be eaten within its first two days, ideally with fresh rotis each time.
Frequently Asked Questions
Why did my curry turn gluey and thick?
The arvi cooked too long, or went in raw and disintegrated into the gravy. Taro releases its starch as it overcooks — pre-cook it, add it to the finished curry, and keep the final simmer to 10 to 12 minutes. A gluey pot can be rescued with hot water and a gentle hand, but the timing in this arvi gosht recipe is designed so you never need the rescue.
My hands itch badly after peeling arvi. What happened?
Raw taro skin and sap carry calcium oxalate crystals that irritate skin — this is normal chemistry, not an allergy, and it is exactly why this arvi gosht recipe starts with oiled hands or gloves and peeling under running water. If you are already itching, washing with warm water and a little vinegar or lemon juice helps it fade faster.
Why is my arvi still hard in the middle?
The simmer was rushed, or the pieces were cut too large and uneven. Cut the tubers into similar chunks, check the pre-cooking with a knife before they go into the curry, and give the final simmer its full time on low heat — arvi cooked in a hurry at the center is the one flaw an arvi gosht recipe cannot season its way out of.
Can I make this with beef or chicken instead of mutton?
Yes. Beef on the bone follows the same timings as mutton. For chicken, build the same bhuna, simmer the chicken for about 25 minutes until tender, then add the pre-cooked arvi for the final 10 minutes — the method holds; only the meat’s clock changes. Whichever meat you choose, the arvi gosht recipe keeps its soul: a finished curry, and the taro arriving late to it like an honored guest.
Recipe Summary
- Prep time: 20 minutes
- Cook time: About 1 hour 15 minutes
- Total time: Around 1 hour 35 minutes
- Servings: 5 to 6 people
- Cuisine: Pakistani
- Course: Main Course / Curry